

How to Transfer Domain From GoDaddy to Hostinger
Introduction
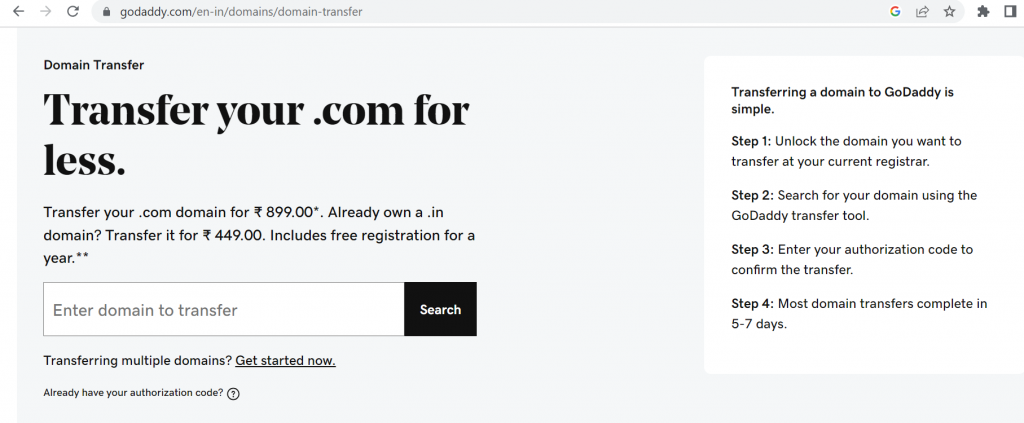
The process of moving a domain from one registrar to another may seem difficult, but with the appropriate instructions, it can be simple and uncomplicated. This article will give you a step-by-step walkthrough of the transfer process if you’re trying to move your domain from GoDaddy to Hostinger.
So let’s get started!
Step 1: Preparing for the Transfer
Before initiating the domain transfer, there are a few essential steps you need to take to ensure a seamless transition.
1.1 Backup of your Website’s Files and Databases
Backups of your website’s files and databases must be made before making any modifications to your domain. This preventative approach will safeguard your data and enable you to repair your website in the event that something goes wrong during the transfer procedure.
1.2 Unlock your Domain in GoDaddy
You must first unlock your domain at GoDaddy in order to transfer it. Locate the domain you want to transfer by logging into your GoDaddy account, going to the domain manager, and doing so. Look for a domain unlocking option, then adhere to the directions that are given. By doing this, the domain lock is released, allowing you to transfer ownership to another registrar.
1.3 Obtain the Authorization Code
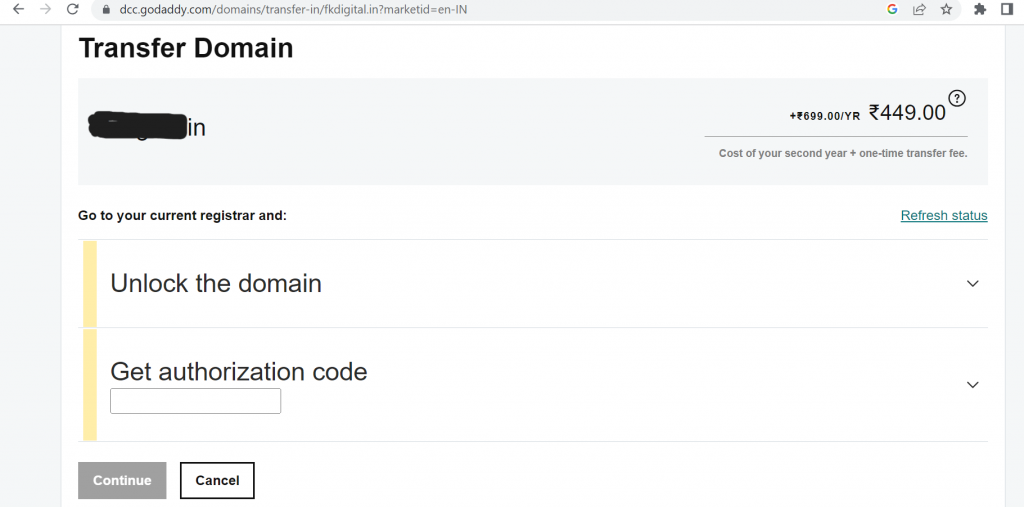
Next, you must get an EPP code, also known as an authorization code, from GoDaddy. Only the domain owner can start the transfer thanks to the security feature provided by this code. Locate the section for authorization codes in the domain manager and ask for the code. GoDaddy will send you the code via email or through the account dashboard.
Step 2: Initiating the Transfer Process
Now that you have prepared your domain for transfer, it’s time to initiate the transfer process with Hostinger.
2.1 Sign up for Hosting
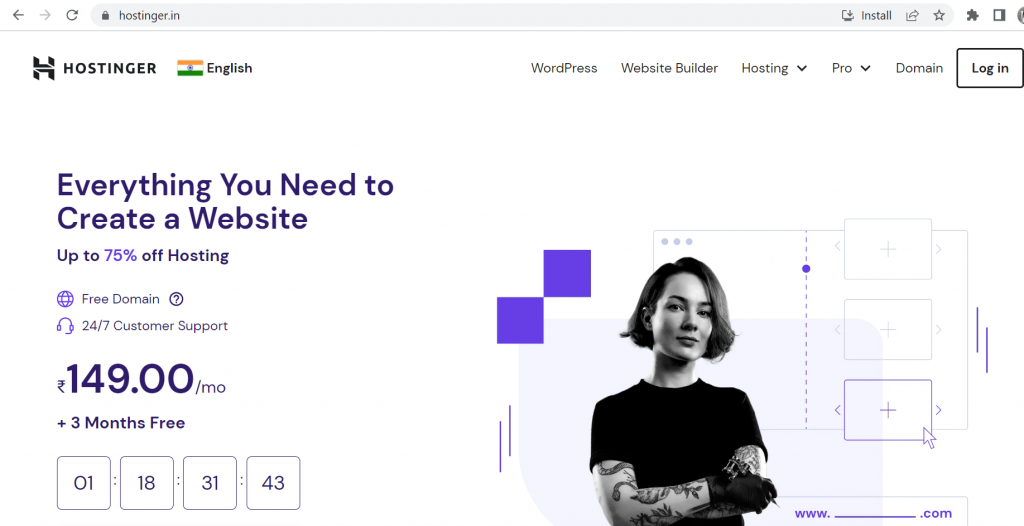
You must register for a Hostinger account if you don’t already have one. Navigate to the domain transfer area on the Hostinger website. Follow the registration instructions and fill out the required fields to create your account.
2.2 Initiate the Domain Transfer
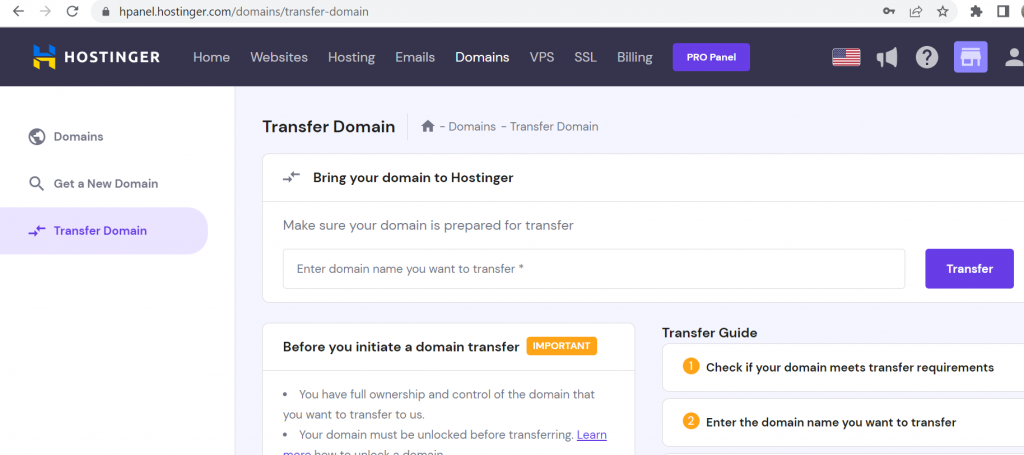
Once you have a Hostinger account, start the domain transfer. Search for a domain transfer option on your account dashboard. Enter the domain name you want to transfer, then adhere to the directions displayed on the screen. It’s possible that you’ll be asked to enter the permission code you got from GoDaddy.
2.3 Verify the Transfer Request
Hostinger will send an email to the domain owner’s registered email address after starting the transfer. A verification link or a confirmation code will be included in this email. To validate your transfer request, click the link or input the code. This process verifies your authorization of the transfer and establishes your domain ownership.
Step 3: Completing the Transfer
With the transfer request initiated and verified, you’re now ready to complete the transfer process.
3.1 Confirm the Domain Transfer
Hostinger will take over and contact GoDaddy to transfer your domain once you have confirmed the transfer request. Your registrar may send you an email asking you to confirm the transfer. Confirm the transfer by following the instructions provided, then move on to the next step.
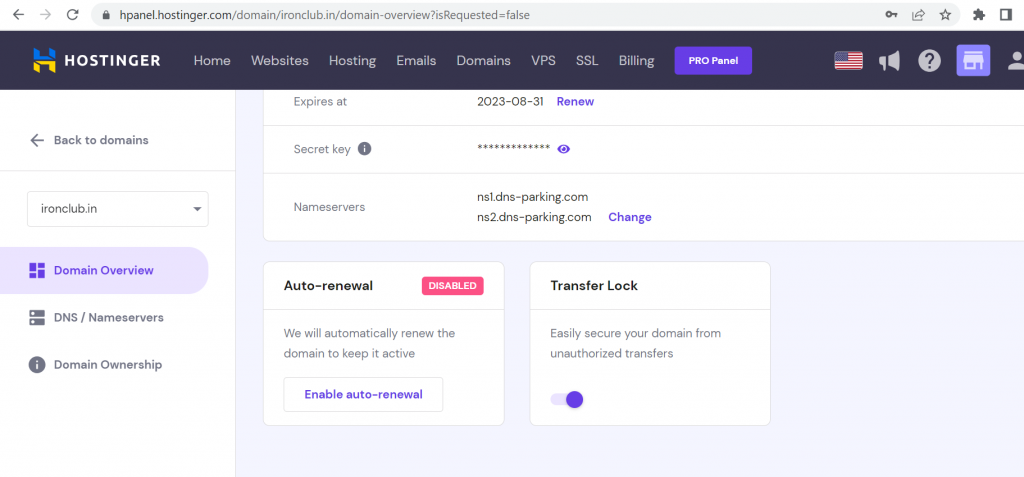
3.2 Update DNS Settings
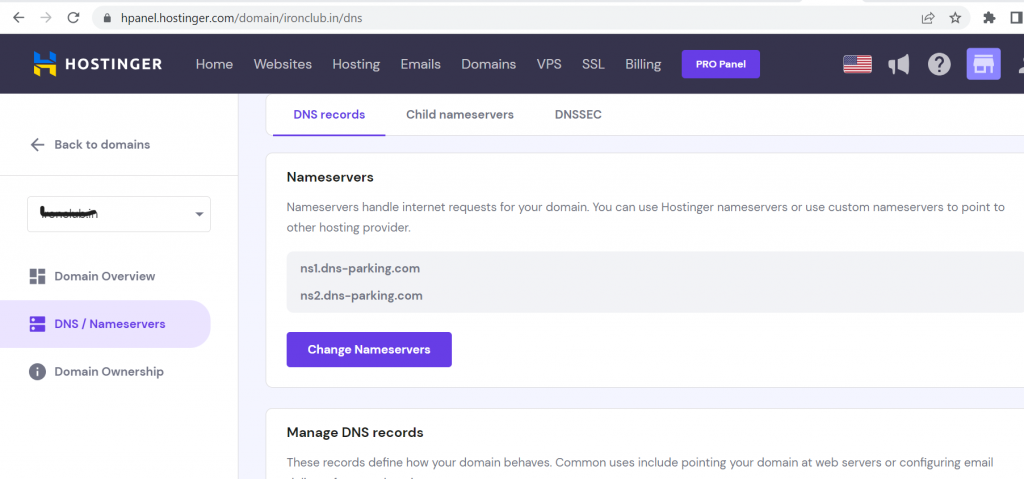
After the transfer has been approved, you must alter the DNS settings to refer to your new hosting company. Input the necessary data, such as nameservers or IP addresses, in the DNS settings area of your Hostinger account dashboard. Your domain will connect to the proper hosting account thanks to these settings.
3.3 Wait for DNS Propagation
You must wait for DNS propagation after making any necessary changes to the DNS settings. The propagation of the new DNS data over the internet can take anywhere from a few minutes to 48 hours during this procedure. During this time, it’s crucial to exercise patience and refrain from making any changes to the setup of your domain or website.
Step 4: Finalizing the Transfer
As the DNS propagation completes, it’s time to finalize the domain transfer and ensure a successful handover to Hostinger.
4.1 Confirm Domain Ownership
Verify that your domain is referring to your new Hostinger hosting account after DNS propagation. You can check if your website loads properly by entering your domain name into a web browser. If everything appears to be in order, your domain transfer is almost finished.
4.2 Verify Email Notifications
Both GoDaddy and Hostinger will email you updates on the transfer status during the procedure. Keep an eye on your email inbox and heed any requests or directions from either registrar. You can keep informed and make the move smoothly with the aid of these notifications.
4.3 Enjoy Your Transferred Domain
Congratulations! Your domain has been successfully transferred from GoDaddy to Hostinger. Enjoy the advantages of your new hosting company and take a moment to celebrate your successful move.
Conclusion
Although it may appear difficult, you can easily transfer a domain name from GoDaddy to Hostinger by following these four steps. Do not forget to have your domain ready, start the transfer, finish the requirements, and complete the transfer procedure. You can move your domain without a hitch and start using Hostinger services by carefully following each step.
FAQs
Q. How long does it take to transfer a domain from GoDaddy to Hostinger?
The domain transfer process usually takes around five to seven days to complete, although it can vary depending on various factors such as registrar policies and DNS propagation time.
Q. Can I transfer my domain if it is locked at GoDaddy?
No, you need to unlock your domain at GoDaddy before initiating the transfer process. This step ensures that the domain can be transferred to another registrar.
Q. What is an authorization code, and why do I need it?
An authorization code, also known as an EPP code, is a security measure that proves your ownership of the domain and authorizes the transfer. It ensures that only the rightful owner can initiate the transfer process.
Q. What happens if I don’t update the DNS settings after the transfer?
If you fail to update the DNS settings, your domain may not point to the correct hosting account, resulting in your website being inaccessible. It’s crucial to follow the instructions provided by your new hosting provider to ensure a seamless transition.
Q. Can I transfer my domain to Hostinger if it has expired at GoDaddy?
No, you cannot transfer an expired domain. Make sure your domain is active and has not expired before initiating the transfer process.


